
Quick Answer:
First, warm them with your hands for 3-5 seconds until pliable, then mold around food or containers. The warmth activates the beeswax, making the cloth sticky enough to seal to itself. One wrap can be reused 100-150 times over 6-12 months with proper care.
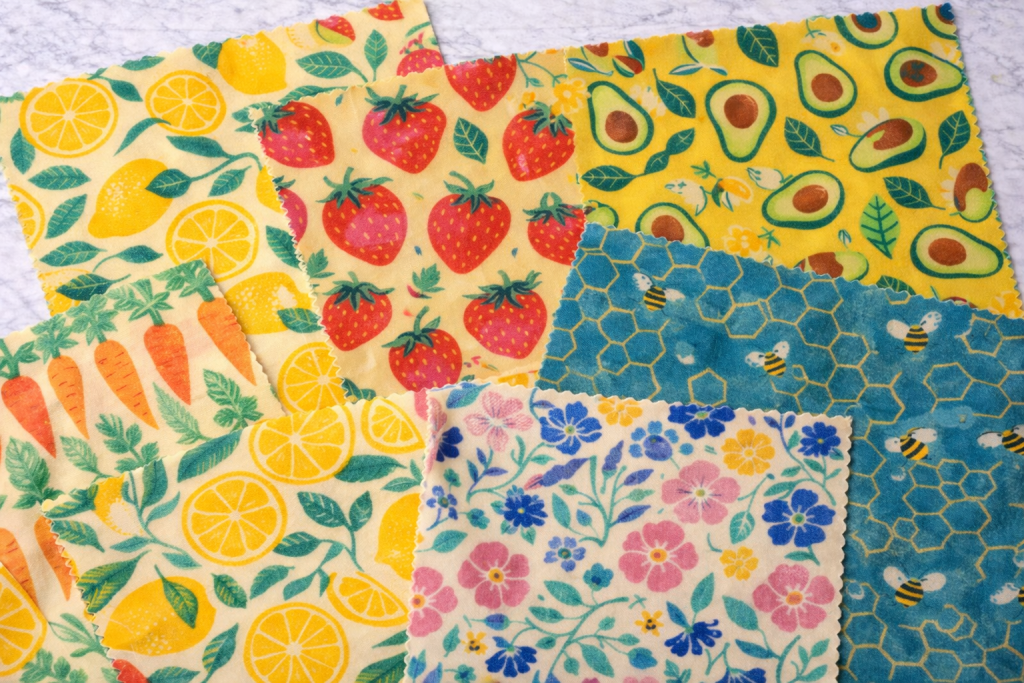
What Are Beeswax Wraps?
Beeswax wraps are reusable food storage wraps made from cotton fabric coated with beeswax, tree resin, and jojoba oil. They replace plastic wrap and aluminum foil for storing food.
Comparison vs Plastic Wrap vs Silicone Bags
| Feature | Beeswax Wraps | Plastic Wrap | Silicone Bags |
|---|---|---|---|
| Reusable | Yes (6-12 months) | No | Yes (years) |
| Cost per use | $0.10-$0.15 | $0.05-$0.10 | $0.02-$0.05 |
| Best for | Cheese, bread, bowls | Raw meat | Liquid, freezer |
| Biodegradable | Yes (compostable) | No | No (recyclable) |
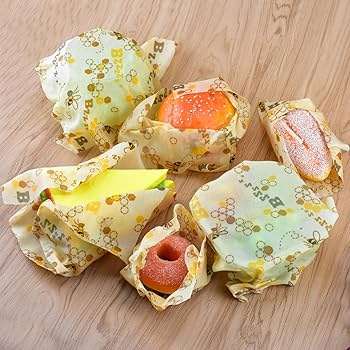
Beeswax Wraps: 4 Folding Techniques
1. The Basic Fold (Cheese & Small Items)
- Place food in center of wrap
- Fold wrap over from opposite corners
- Press edges to seal with hand warmth
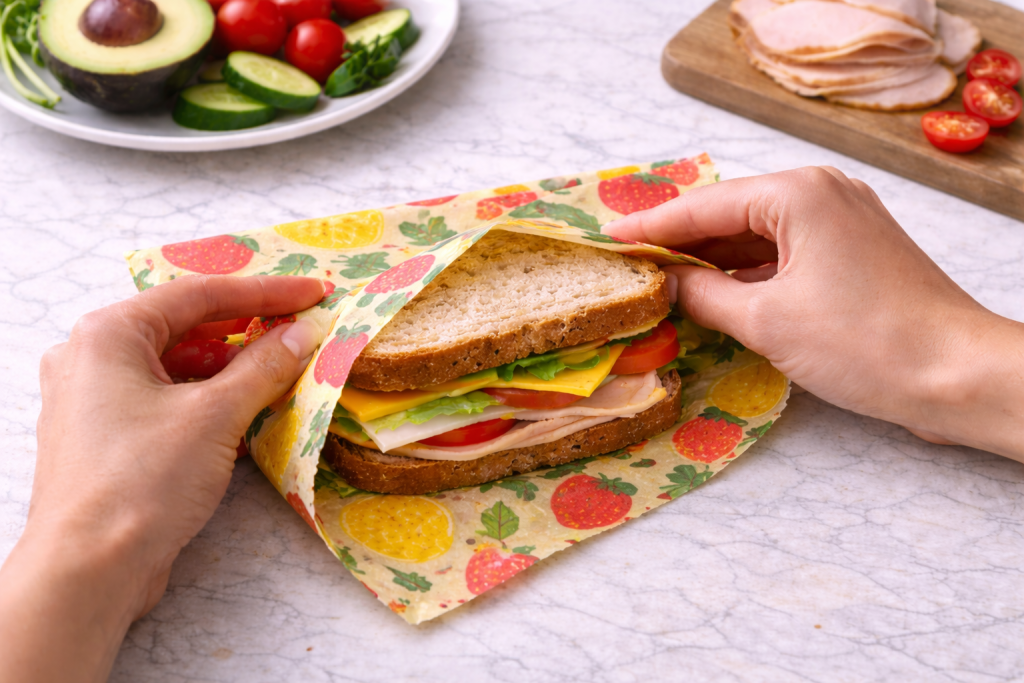
2. The Envelope Fold (Sandwiches)
- Place item slightly off-center
- Fold bottom up, then sides in
- Fold top down and seal
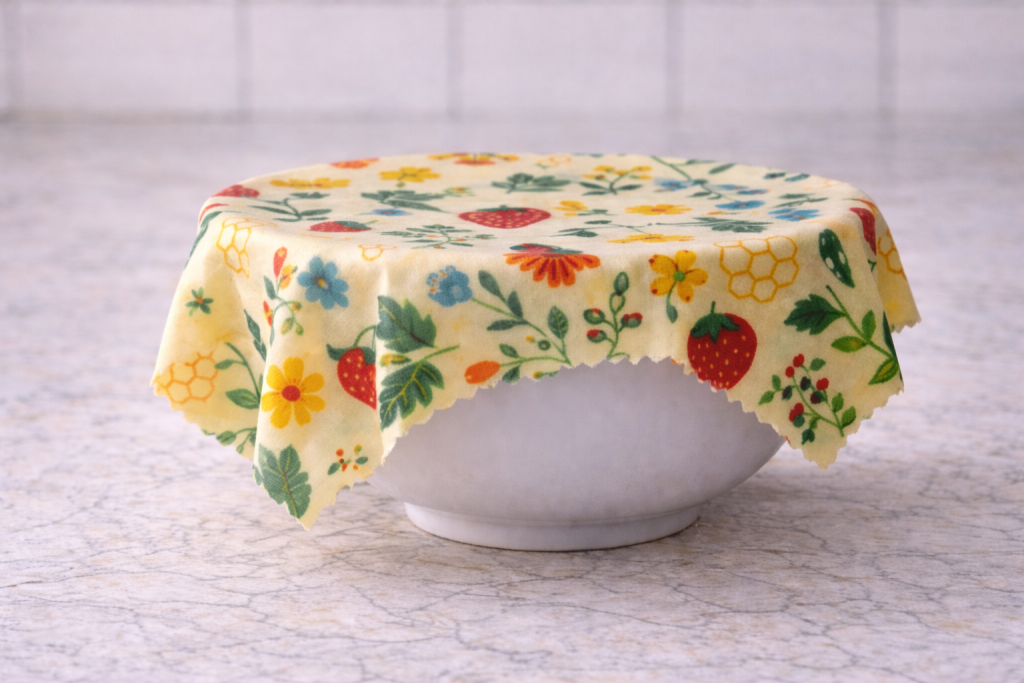
3. The Bowl Cover (Leftovers)
- Lay wrap over bowl with overhang
- Press against sides
- Overlap edges seal to themselves
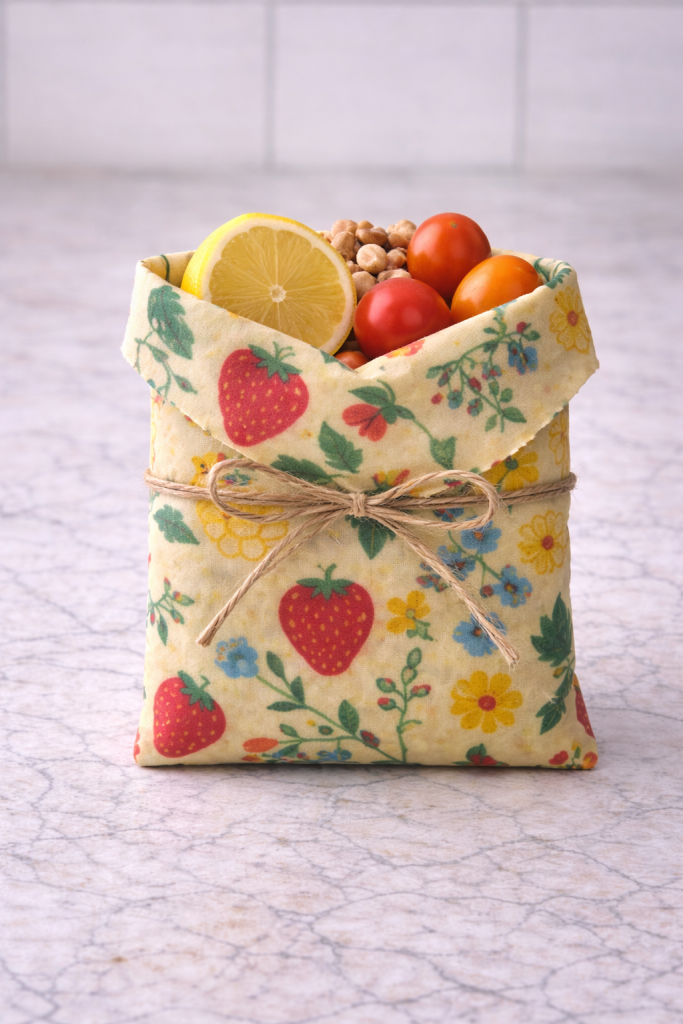
4. The Pouch Fold (Snacks)
- Place snacks in center
- Gather corners together
- Twist and fold over to seal
What Foods Work Best
Excellent for Beeswax Wraps
- Cheese: Breathable, prevents mold better than plastic
- Bread: Keeps crust crisp, interior soft
- Produce: Vegetables stay crisp for a week
- Leftovers: Perfect bowl covers
Avoid These Foods
- Raw meat: Bacterial risk, hard to clean
- Hot foods: Melts the wax
- Acidic fruits: Pineapple breaks down wax
- Wet foods: Makes wrap soggy
How to Clean and Care
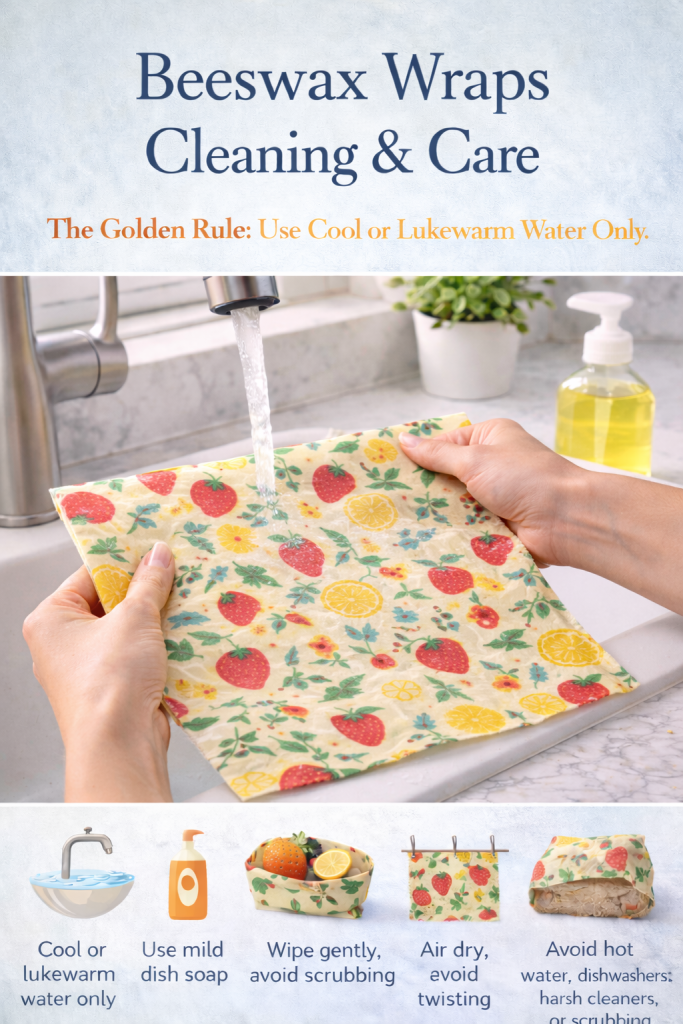
Cleaning Steps
- Rinse with cool water (never hot)
- Use mild dish soap sparingly
- Gently wipe, don’t scrub
- Air dry completely
Important: Never put in dishwasher, washing machine, or microwave.
FAQ
How long do beeswax wraps last?
6-12 months with proper care. High-quality wraps last up to a year.
Can beeswax wraps go in the freezer?
Yes, for short-term storage (up to 2 weeks). They stiffen when frozen but return to normal at room temperature.
Are they vegan?
Traditional wraps contain beeswax. Vegan alternatives using candelilla or soy wax are available.
Can I wrap hot food?
No. Wait for food to cool to room temperature. Heat melts the wax.
How many wraps do I need?
A family of four typically uses 6-10 wraps. Start with 3-4 and expand as needed.
Bottom Line
Beeswax wraps are one of the most practical zero waste swaps. They work as well as plastic wrap for most uses, save money over time ($150-200/year), and eliminate single-use plastic. Start with a 3-pack variety set ($15-25) and expand as you discover what works best.